For the first part of our free inquiry project, Madi and I decided to start with something simple. Hence, we found this recipe for “Chewy Chocolate Chip Cookie bars” on Pinterest!
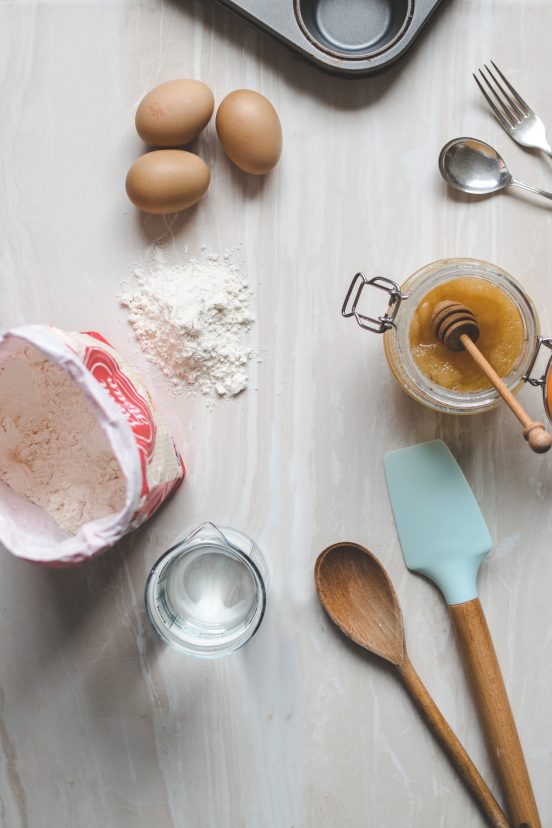
This is a great recipe because it’s a little bit different than just baking regular chocolate chip cookies, but is still very accessible for beginners. Luckily, we already had all of the ingredients at our homes so we didn’t need to go shopping for this one. The recipe calls for:
- 2 c. + 2 T. all-purpose flour
- 1/2 tsp. kosher salt
- 1/2 tsp. baking soda
- 12 T. unsalted butter, gently melted and then cooled to room temperature
- 1 c. packed light brown sugar
- 1/2 c. sugar
- 1 large egg
- 1 large egg yolk
- 2 tsp. pure vanilla extract
- 2 c. semi-sweet chocolate chips, plus a bit more for sprinkling over the top of the dough
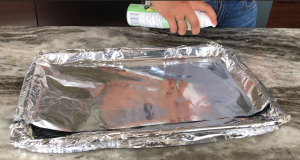
Step One: We preheated the oven to 325 degrees, lined a pan with foil and gently sprayed it with some light tasting olive oil spray (for clean cuts):
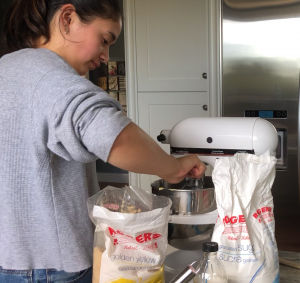
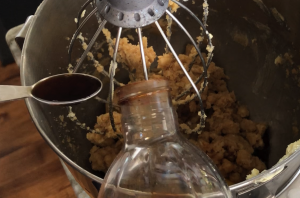
Step Two: In a medium bowl, we whisked together our sugar, brown sugar, and melted butter. Our recipe said to use butter that had been “gently melted and then cooled to room temperature” but we just let the butter sit out for a couple hours as we didn’t think (and hoped) it would be necessary.
We had to use technology to help us figure out the conversions for our butter as our recipe called for 12 tablespoons. We asked “Siri” the conversion from tablespoons to cups to figure out our measurement.
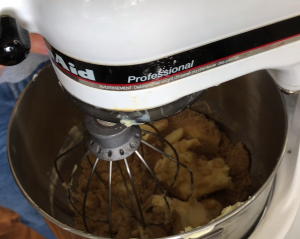
Step Three: Next, we added our vanilla, egg, and egg yolk. Or at least we thought we did! We messed up a little at this step because Madi thought it said we needed egg white when in fact it was an egg yolk. She realized this after we had mixed everything in, so we just added an egg yolk. So there was 2 full eggs in our recipe instead of the one egg and one egg yolk we were supposed to use – oh well, haha.
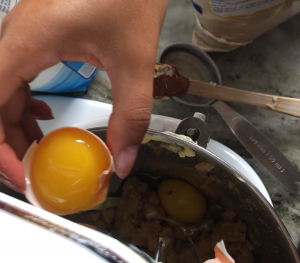
Watch us realize we messed up here:
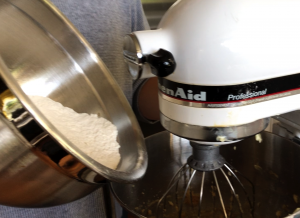
Step four: After we fixed our egg fiasco, we mixed in our dry ingredients:
And folded in our mini chocolate chips:
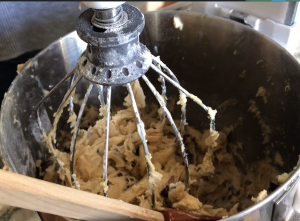
And then I proceeded to pick up all of the ones I accidentally dropped on the floor
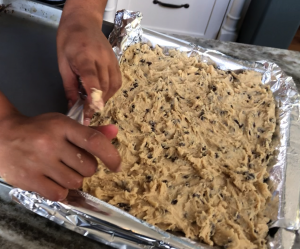
Step Five: We transferred our dough into the pan. Our instructions said to press the dough down evenly, but it was very sticky so we did our best:
We then realized that the pan we picked was maybe a little too big for the amount of dough we made. Madi folded the edge of the foil in so that we could simulate a smaller pan for the amount of dough we had.
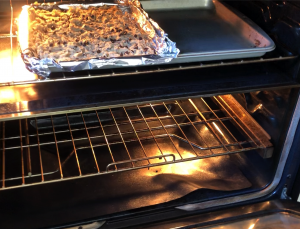
Step Six: Into the oven for roughly 23 minutes!
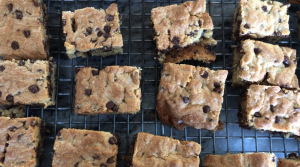
Step Seven: We pulled them out and started to slice them into squares!
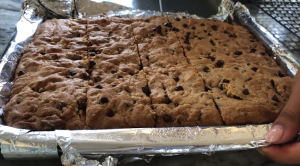
Annnndddddd…. The finished product!
Reflection and Feedback:
We brought them in to school the next day to share with our cohort and get their feedback. Overall, everyone really loved them. The consistency was more cake-like than cookie-like and everyone thought they were really good. Madi and I think maybe we added a little too many chocolate chips but everyone else thought we added a good amount (neither of us are really huge chocolate fans either). I think that this was a great first recipe to start off with as it was simple enough to follow but also a little different from your basic chocolate chip cookies. It’s a great starting off point for our project!
Cheers!
-Jess


Comments by jessicah